Today I started work on a prototype for a little boat game idea I’ve had kicking around since basically Friday. I thought I’d share some pictures of how it progressed from nothing to something.
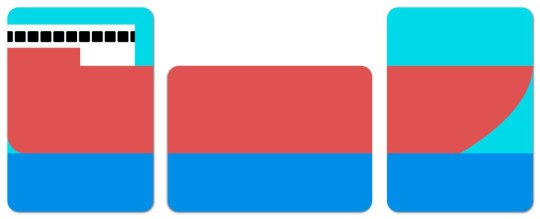
Here’s where we started. There’s the basic idea of a boat made up out of cards, and you can slot cargo onto the cards in the middle. Here’s the very first version of the graphic I made. obviously it looks a little sparse so I wanted to make it a little clearer. It’s a little ugly and boxy – back of the boat and front of the boat don’t match up.
One of the things that makes this less clear is the way the two blues look similar. Highlighting blue sky as differs from blue water. So here’s a second draft – adding shadows and waves to the water, clouds to the background, and trying to make the cabin of the ship look a little more shaped.
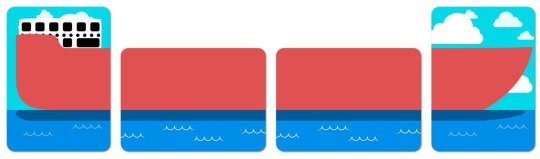
This will be our boat, the basic structure of it. We also want to make some container cards, for the cards that will be stacked on top. Jumping ahead a little, but they look like this:
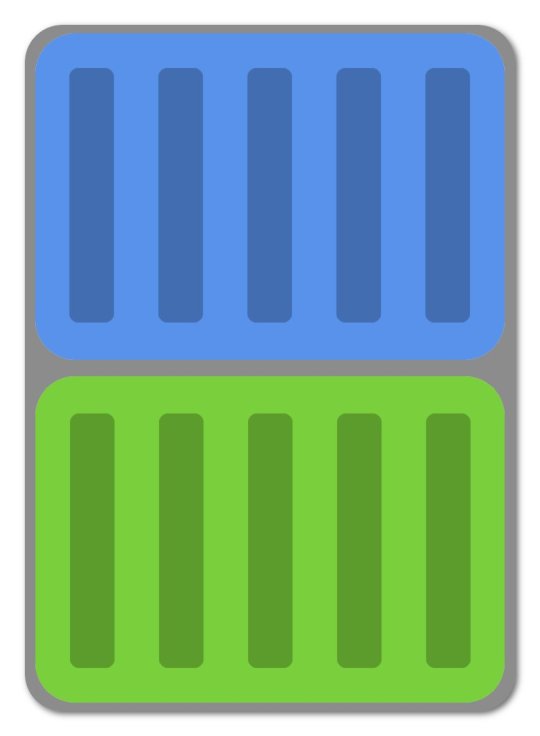
Okay, so that’s the basics. A card will have two containers on it, and you can slot one of them into each of your ship slots.
Next up, we have a handful of iterations on the cabin – adding an antenna and a flag, making sure it’s got some personality to it. And hey, maybe add a line to the boat, to give the whole thing a bit more dimension.
Okay, so how’s it look with that, and some containers:
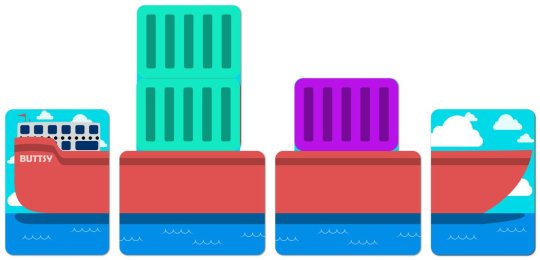
Whoah holy snoot! If that cabin is two storeys (at least), then those containers are something like four storeys tall each! We gotta make them seem smaller, but we can’t shrink them in any way physically. That means we have to adjust the things you’re using as your frame of reference, which means changing those windows and doors.

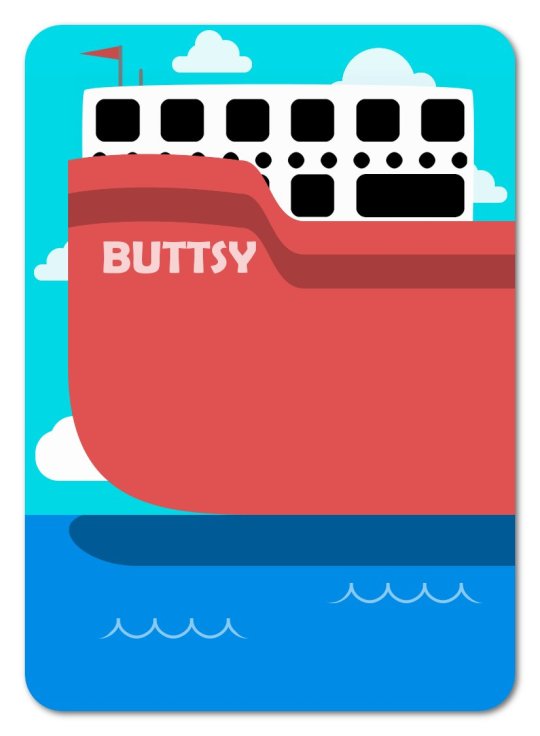
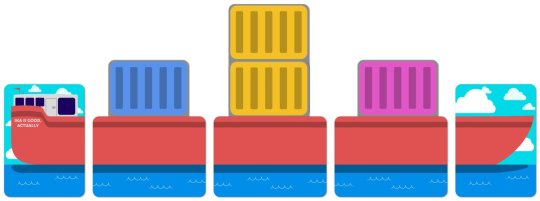
That’s a way nicerlook and it also makes the boat seem smaller, more kiddy, less of a ridiculous tower.
Okay, so now we have a tidied up boat:
The next step is that we need a currency for this game. Now, I’m a giant currency nerd, so this is easy enough for me to belt out – something that looks currency-ish:
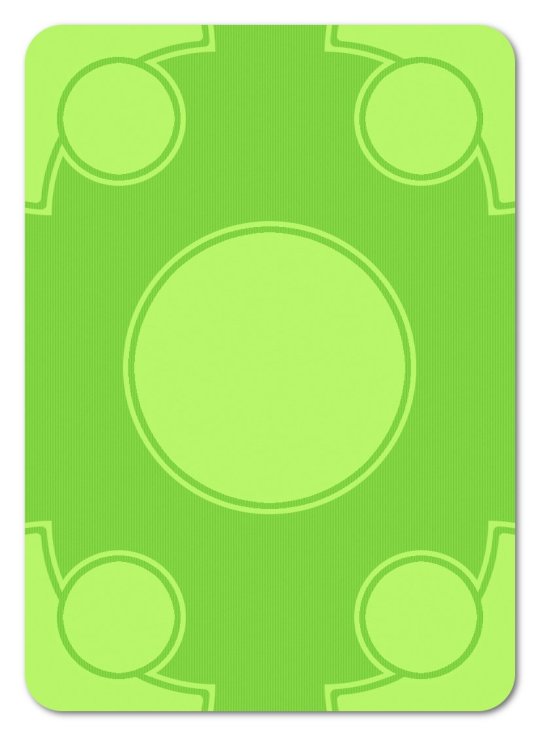
This is basically made up of two parts. The base is a green colour, and over that there’s a white layer of Soft Light. If you put all the white shapes in a folder, then make that folder soft light, you can keep those white objects from being affected by the lines.
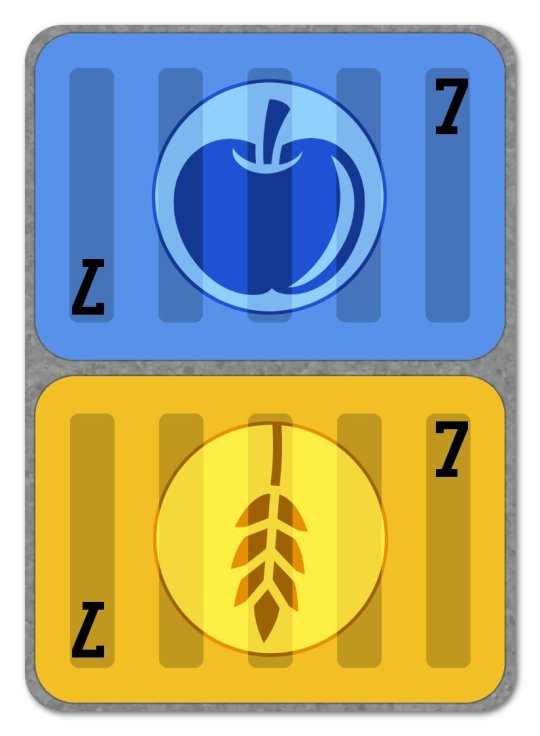
Then we jam onto it some basic ‘money details and a symbol. Because this is a card, we don’t want the card to be asymmetrical in any way. When someone shuffles up the cards, we want to make sure it’s easy for them to get them all oriented in the ‘right’ way, and to avoid giving away information when people shuffle. It’s a good principle to ensure that card backs give away as little information as possible and are as easy as possible to interact with.

And now we have a money card, a card back for the container.
Here’s the revised containers, which I didn’t save as many in-pgoress shots of, but it’s the same thing. Start with a basic shape, adjust it, adjust it, adjust it.
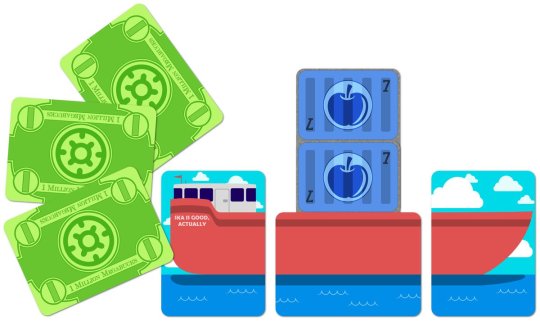
Now here’s all the cards I made today, more or less, arranged together. This is a day’s work, and yes, the aesthetic is simple, but this simple look still took a LOT of iteration.
You can do this. You can make stuff that looks like this. Heck, you can make stuff better than this!
I want you to know that these things get made bit by bit, and looked at and reconsidered. Don’t be afraid of having incomplete, or not-as-good stuff. This all changes step by step.